In this post I will discuss the Text tool for drawing text in the Grid Designer. If you have not read parts 1-3, you should at least read part 1, as it contains general information you will need to understand this post. Read part 1 here.
Additional Information
You can see the drawing tools in action in the Overview – Drawing Tools youTube video which you can launch by clicking here.
In addition, more information about the Drawing Tools is available in the main documentation.
Getting Started
I will start with the default project, as I did in Parts 1, 2 and 3.
To get to the default project, if you are following along, simply press the browser’s refresh button. If there are edits on your grid that you want to keep for later, you can save by selecting Project -> Save from the top toolbar before pressing the refresh button.
If you want to try out the tools as I describe them, you can open the Grid Designer in another window by clicking here.
Enlarge the Grid
To make room for our drawing text, I first want to increase the size of the default project grid.
Grid Size Dialog
We can increase the grid size by selecting Display -> Grid Size. This will bring up the Grid Size dialog.
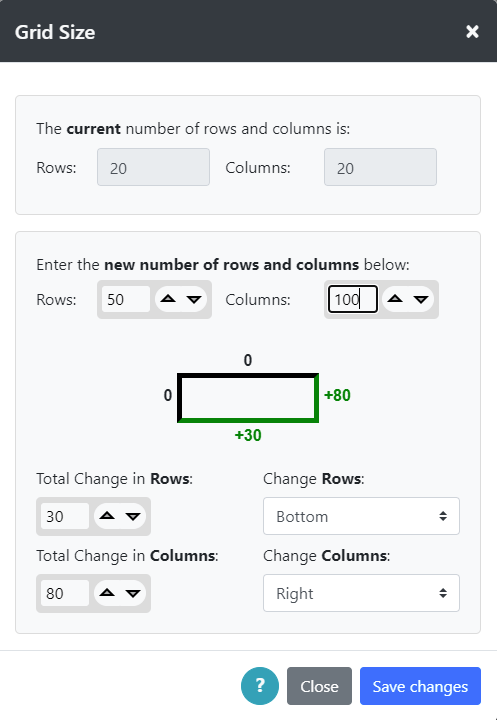
At the top of the dialog, the current number of rows and columns are displayed.
Below that are the new number of rows and columns that I will be modifying. I am going to set the rows to 50 and the columns to 100. This will make a nice area for us to play with the text tool.
Below the new number of rows and columns is a diagram of the grid. Since I started with a 20×20 grid, I will be adding +80 columns on the right side and +30 rows on the left side.
If you want to add rows and columns to a different side or split them between opposite sides, this can be set below the Change Rows: and Change Columns: labels.
For this example, adding them on the Bottom and Right side will be fine.
For more information on the Grid Size dialog, click the ? help button on the bottom of the dialog to be taken to the documentation.
You can also insert and delete rows and columns anywhere in the grid by using the Add/Delete Rows or Columns button on the left side of the main bottom toolbar. ![]()
Grid is Enlarged
After setting my rows to 50 and my columns to 100 in the Grid Size Dialog, I click on the Save Changes button on the Grid Size dialog to modify the grid to 50 rows and 100 columns. My grid is now large and fills the screen for me.
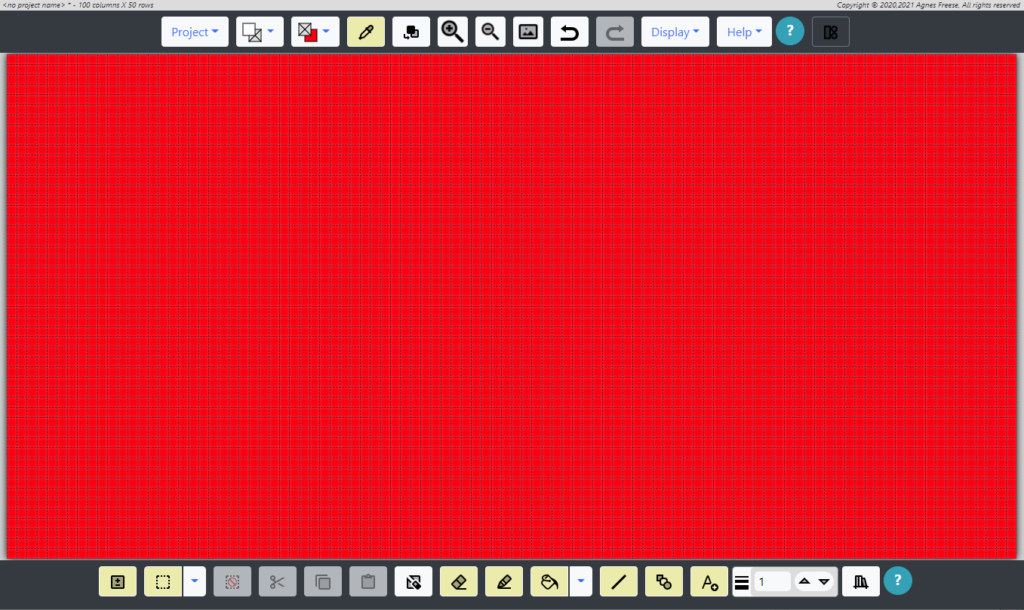
If you have the Grid Designer open and are following along, you should also increase the grid size as shown above.
How to Draw Text
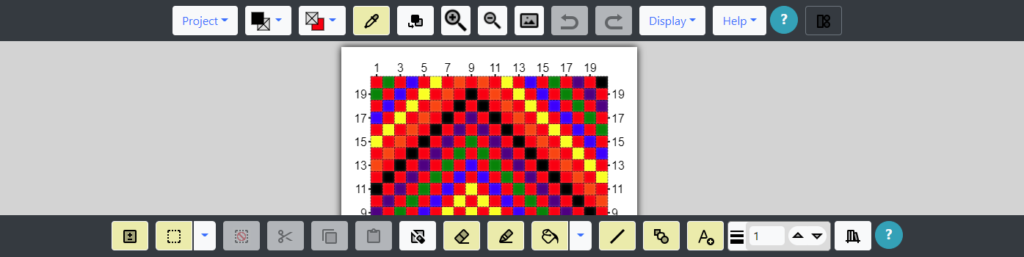
We will use the text tool to draw text. It is located on the right side of the bottom toolbar. ![]()
Click the Text Tool
First, I click the text tool button ![]() . The button turns green
. The button turns green ![]() indicating it is active, and the mouse cursor changes to a text-cursor. A hint popup may come up (see more on hint popups here).
indicating it is active, and the mouse cursor changes to a text-cursor. A hint popup may come up (see more on hint popups here).
Create an Initial Rectangle
Next, I need to create a rectangular area on the grid where my text will first appear. This area does not have to be in its exact position and it does not have to be the exact size. I will be able to move it later and change its height. The width will change to fit the text that I type into it.
Taking the mouse I put the left mouse button down on the grid where I want to have one corner of the rectangle and then drag the mouse across to where I want the opposite corner, holding the mouse button down. This is similar to drawing shapes and lines, as we saw in part 2 of this post series.
A rectangle will draw as you drag the mouse and when you let the mouse up, the text ABC will be drawn there. Give it a try if you have the Grid Designer open.
Set the Text Value
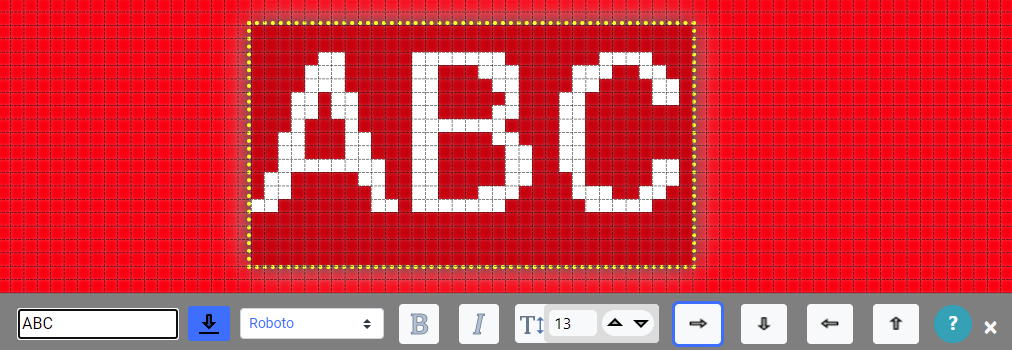
The bottom toolbar buttons will be replaced by the text toolbar buttons. These allow you to modify the text, the font, the height and the orientation of the text.
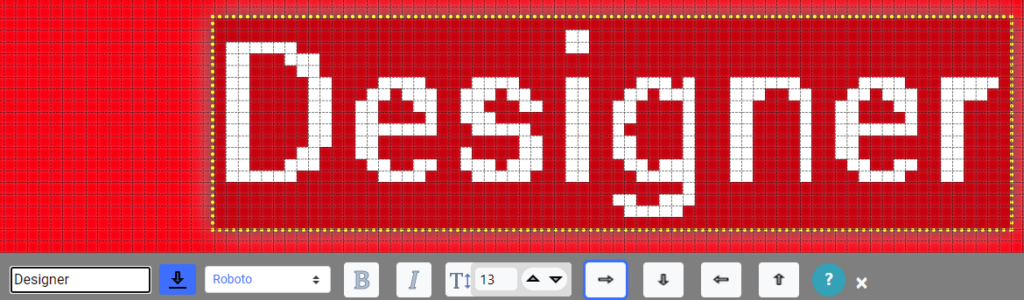
I will start by changing the text from ABC to what I want. The text is editable by typing into the text box on the lower left.
I will type in the word ‘Designer’ in the lower left. The text drawn will update to show that text.
Move the Text
The text is now a little off-center after setting the value, but I can move it by putting the mouse over the text on the grid and dragging it to the left.
You can also move the grid itself by grabbing it with the mouse outside of the text rectangle. The cursor will change to a hand when over the main grid. You can also move the main grid with the mouse wheel. The wheel moves the grid up and down. If you hold the shift key down on the keyboard and then move the mouse wheel, the grid will move left and right. There are a number of other keyboard shortcuts that can be used to move the grid and the text. See the Keyboard shortcuts section of the documentation.
Now I’ve moved it over. I can change it in multiple ways.

Change Color, Font, Height and Style
Looking at the buttons on the bottom toolbar from left to right, in the figure above, I can edit the text, apply it to the grid with the blue button, change the font with the dropdown font selector, turn bold and italic on and off, change the text height, and select a different orientation for the text.
The text is drawn using the foreground color, but I can change this color on the top toolbar if I desire. Below are some changes I have made. Try out each setting yourself, if you have the Grid Designer open.
Example 1
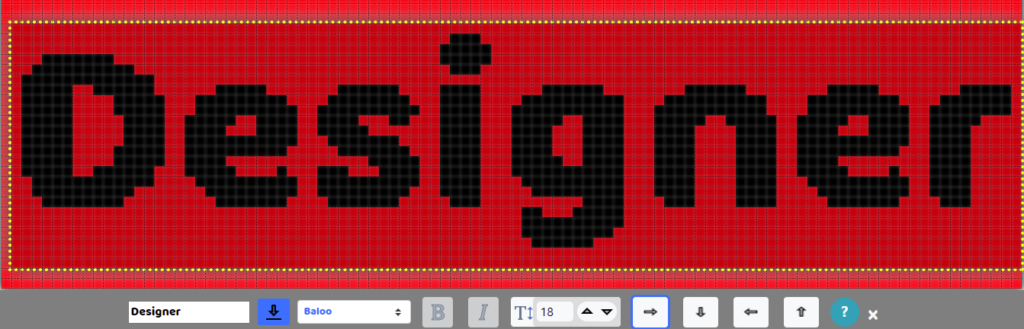
I have changed the foreground color to black, set the font to Baloo, and set the text height to 18. Setting it larger makes it too big for the width of my grid.
Let’s try a different font.
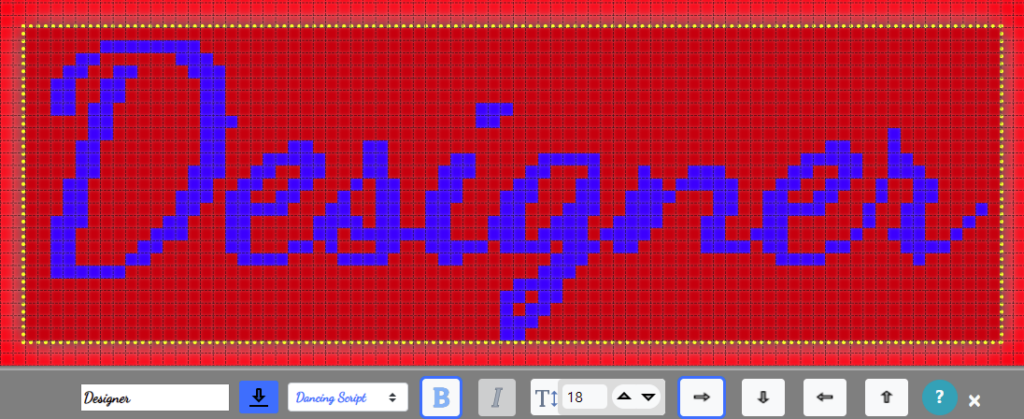
Example 2
Now I have set the font to Dancing Script, the foreground color to blue and turned on the Bold (B) button.
Note that some fonts do not have bold or italic options. Baloo does not have either, Dancing Script has a Bold option, but not an italic option. Let’s try one more font.
Example 3
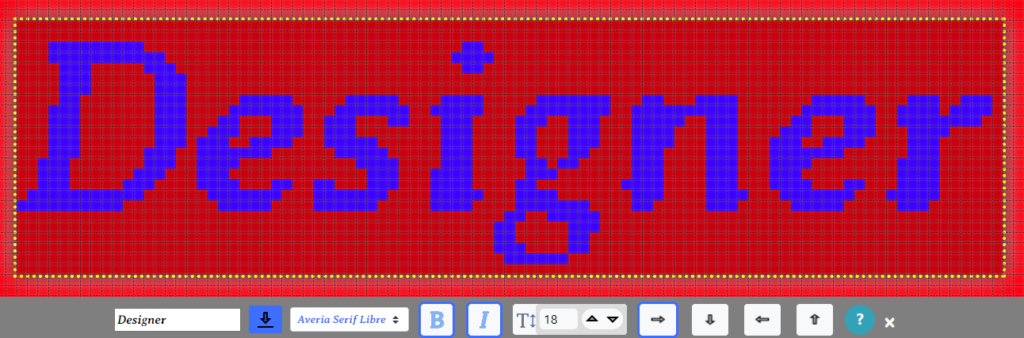
This font is Averia Serif Libre. It has both a bold and italic option and I have turned both on here.
One of my favorites is the old English font, English Towne. Let’s try that one. It has no bold or italic option.
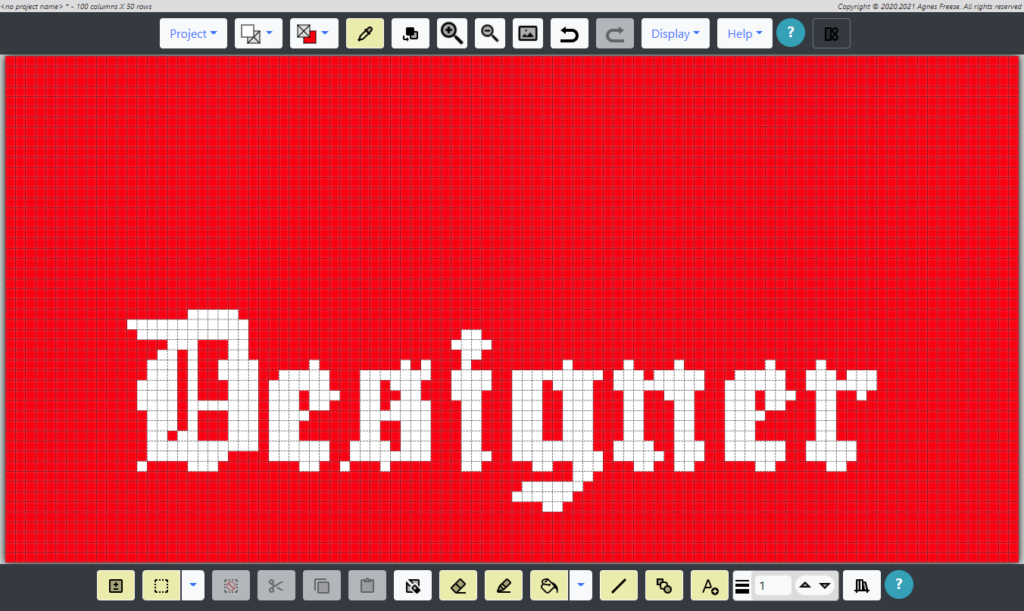
Example 4
Here I changed the font to English Towne and the foreground color back to white.
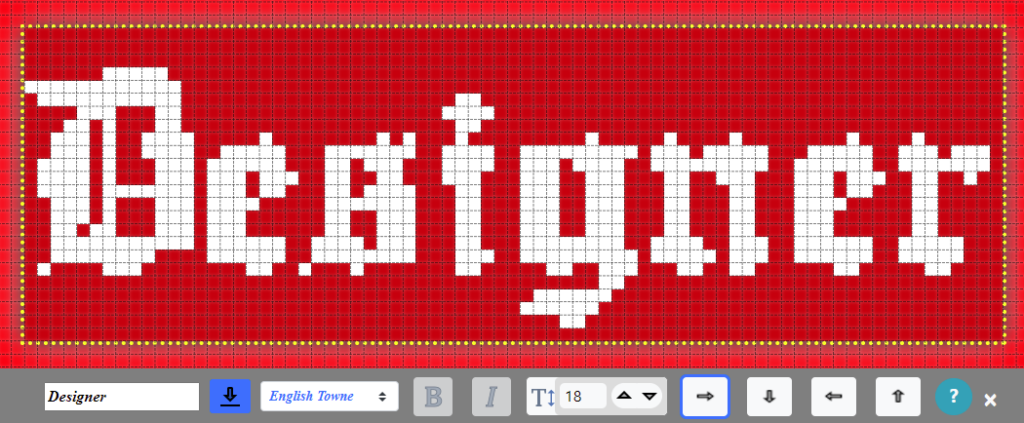
Change Orientation
One last thing to try out, is changing the orientation. There are 4 orientation buttons on the bottom right. ![]()
The left-to-right orientation is selected in the figures above. Now let’s see what the others do.
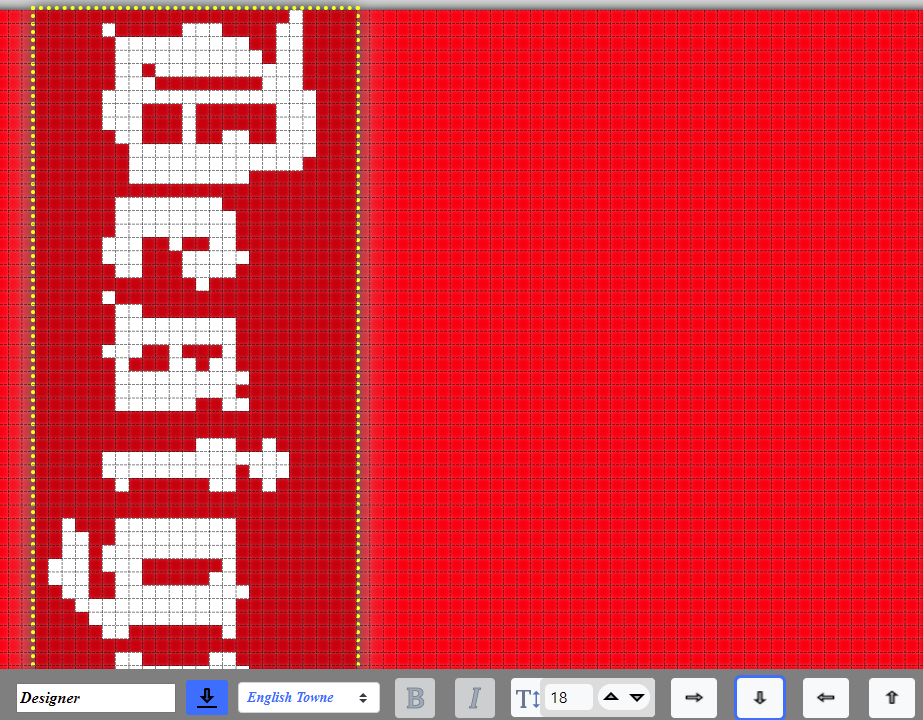
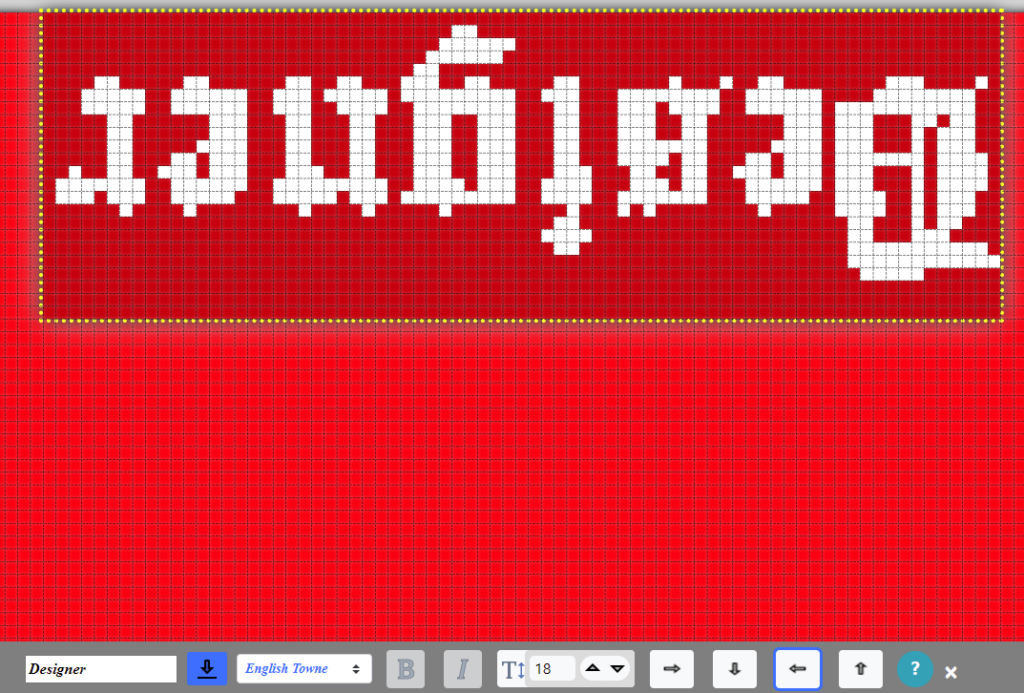
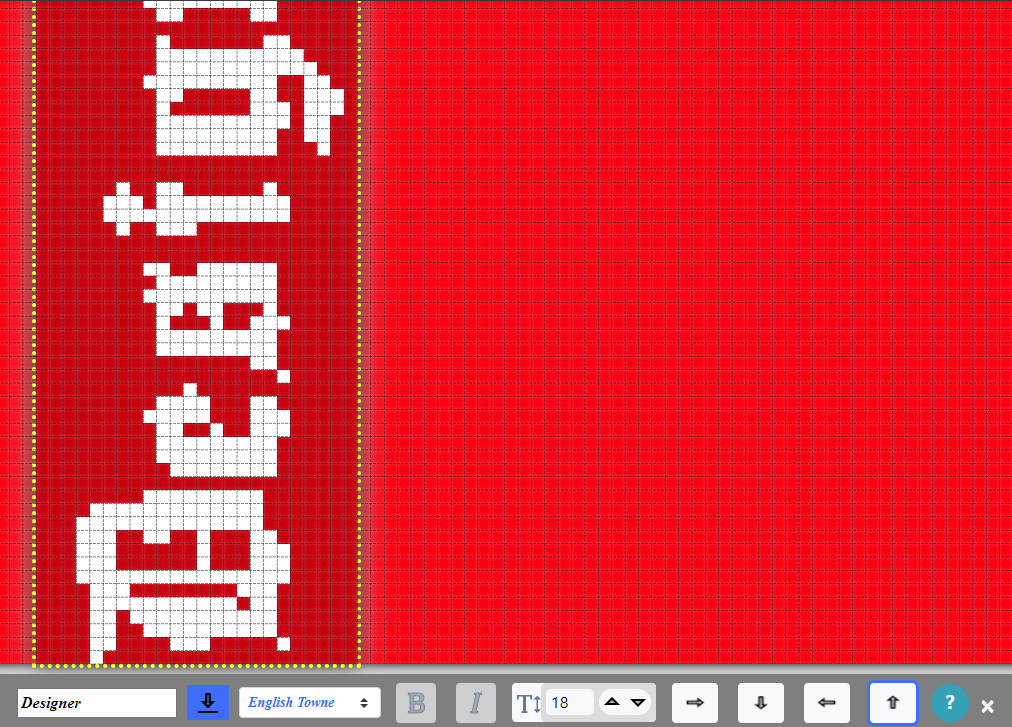
If you have the Grid Designer open, give it a try!
Apply to Grid
I will go back to the left-to-right orientation and then click the blue apply button ![]() . This will apply my text to the grid and return to the main bottom toolbar. The text is now part of the design on the grid.
. This will apply my text to the grid and return to the main bottom toolbar. The text is now part of the design on the grid.
This ends the Grid Designer Drawing Tools four-part post. If you have not read the other sections, you can start at part 1 by clicking here.
More Information
If you would like to see the Drawing Tools in action, watch my Overview – Drawing Tools video on youTube.
To see other How To articles click here.
Continue reading about the Grid Designer with Project Creation.