Here are the directions for creating a Christmas Stocking Lining out of jersey knit fabric. This lining will work for all stockings I post on freese-works.com, past and future, as the pieces are made by tracing around your stocking and all of my stockings will have the same general structure.
Materials
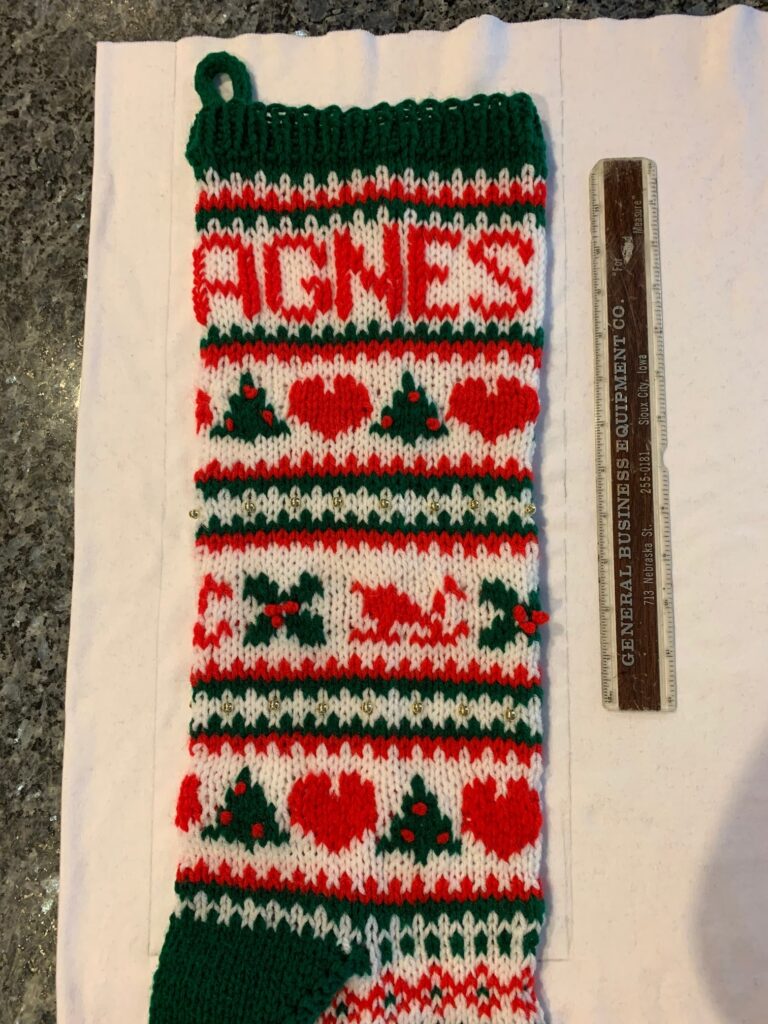
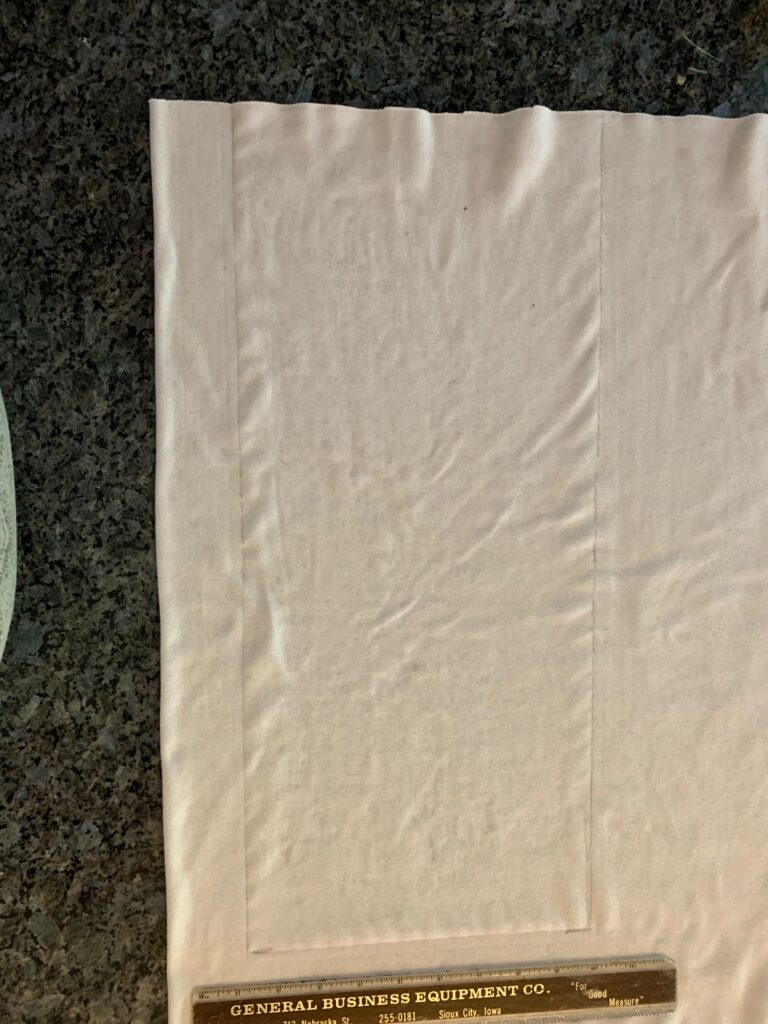
Purchase about 2/3 yards of jersey knit fabric. The fabric I show in the pictures here was 58 inches wide. I chose white because most of the stocking this particular lining went into, was white. You may want to select a different color, depending upon your stocking.
You will also need a pencil, ruler or straight edge, thread, needle, scissors and a sewing machine.
Pattern Pieces
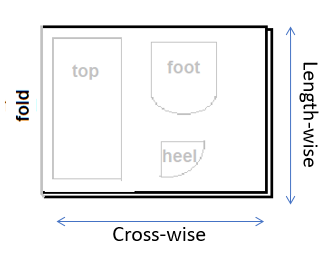
The lining is made of three pattern pieces: the top, the foot and the heel.
You will need to cut 2 of each of these pieces, so your fabric will need to be folded in half.
To make the pattern pieces we will trace around different parts of the knitted stocking onto the fabric with a pencil, then cut out the pieces.
It is best to purchase fabric that is not slippery in feel and has a bit of fuzziness to it. That will make it easier to follow the steps below. When cutting, the fabric layers will not slip around over one another. If the fabric is too slippery, you may need to do the tracing on paper to make a paper pattern you can pin to the fabric and cut around.
The fabric will stretch more cross-wise than length-wise, so orienting the top and foot so that the cross-wise stretch will stretch across the width of the stocking will allow the lining to stretch when items are taken in or out of the stocking.
Stocking Top
Lay out your fabric as shown in the previous section.
Lay the top of your stocking in the area labeled “top” in the previous section.
Using a ruler or other firm straight edge, draw a cutting line on each side of the stocking, leaving a gap of about 1/2 inch between your line and the stocking edge.
Continue your lines above the top of the stocking for about 2 inches. Draw a connecting line between them (in my case I just placed the top of the stocking a couple of inches down from the edge of the fabric).
Continue the lines down to about 1/2 inch past the start of the heel on the stocking.
Mark this end by drawing the lines going inward as shown here: Now connect the two lines at the bottom by lifting up your stocking and using the straight-edge to draw the bottom line.
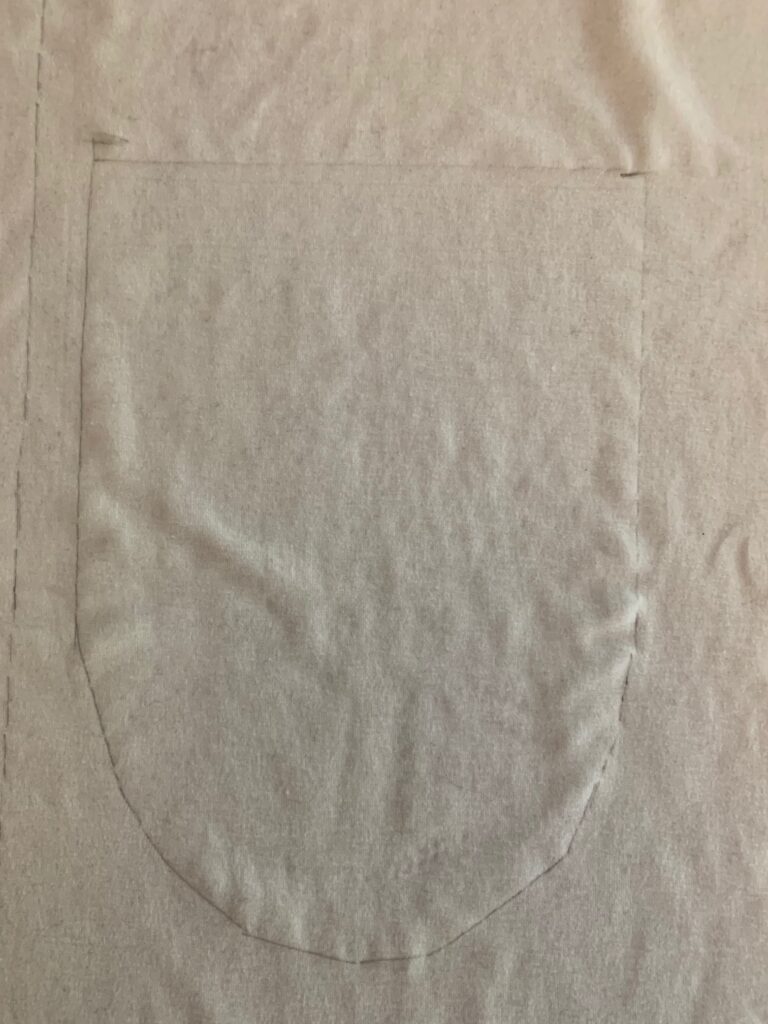
Now you should have drawn an almost rectangular area on your fabric that will be the lining for the top of the stocking.
In my example picture I have used the top edge of the fabric as the top, so no line drawn, and I won’t have to cut there.
Stocking Foot
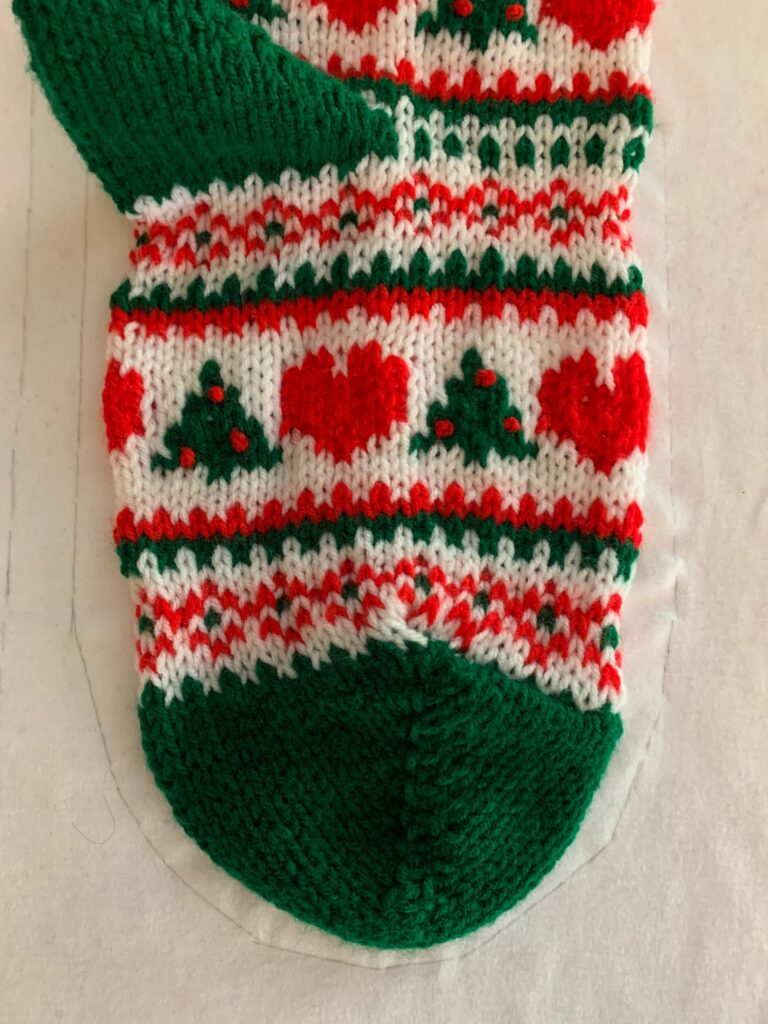
Now lay the stocking foot on the fabric to the right of the stocking top we just drew.
Using the straight edge, draw lines around the foot, about 1/2 inch from the edge of the stocking.
To draw around the toe, I moved my ruler in steps around the toe, drawing small lines until the round end was all connected.
At the top end, draw short lines going inward about 1/2 inch above the start of the heel.
Lift the stocking and connect the lines at the top by drawing a line with your straight edge.
Now you should have a foot pattern piece drawn that looks like this.
Stocking Heel

Place the heel of the stocking on an unused area of the fabric.
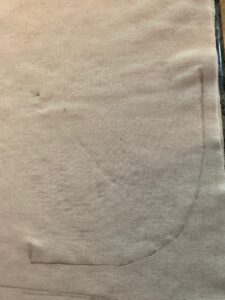
Draw around the curve of the heel with a pencil and a straight edge, moving the straight edge as you go and drawing small lines that will connect to make the curve. Draw about 1/2 inch from the edge of the stocking.
At both ends of the curve, draw short lines inward.
Place the pencil through the stocking about 1/2 inch beyond the end of both sides of the heel. As shown in the picture “Drawing around the heel”.
Rotate the pencil back and forth to make a dot on the fabric below.
Lift up the stocking and connect the dot to the ends of the curve with straight lines.
Now you will have something that looks like this: 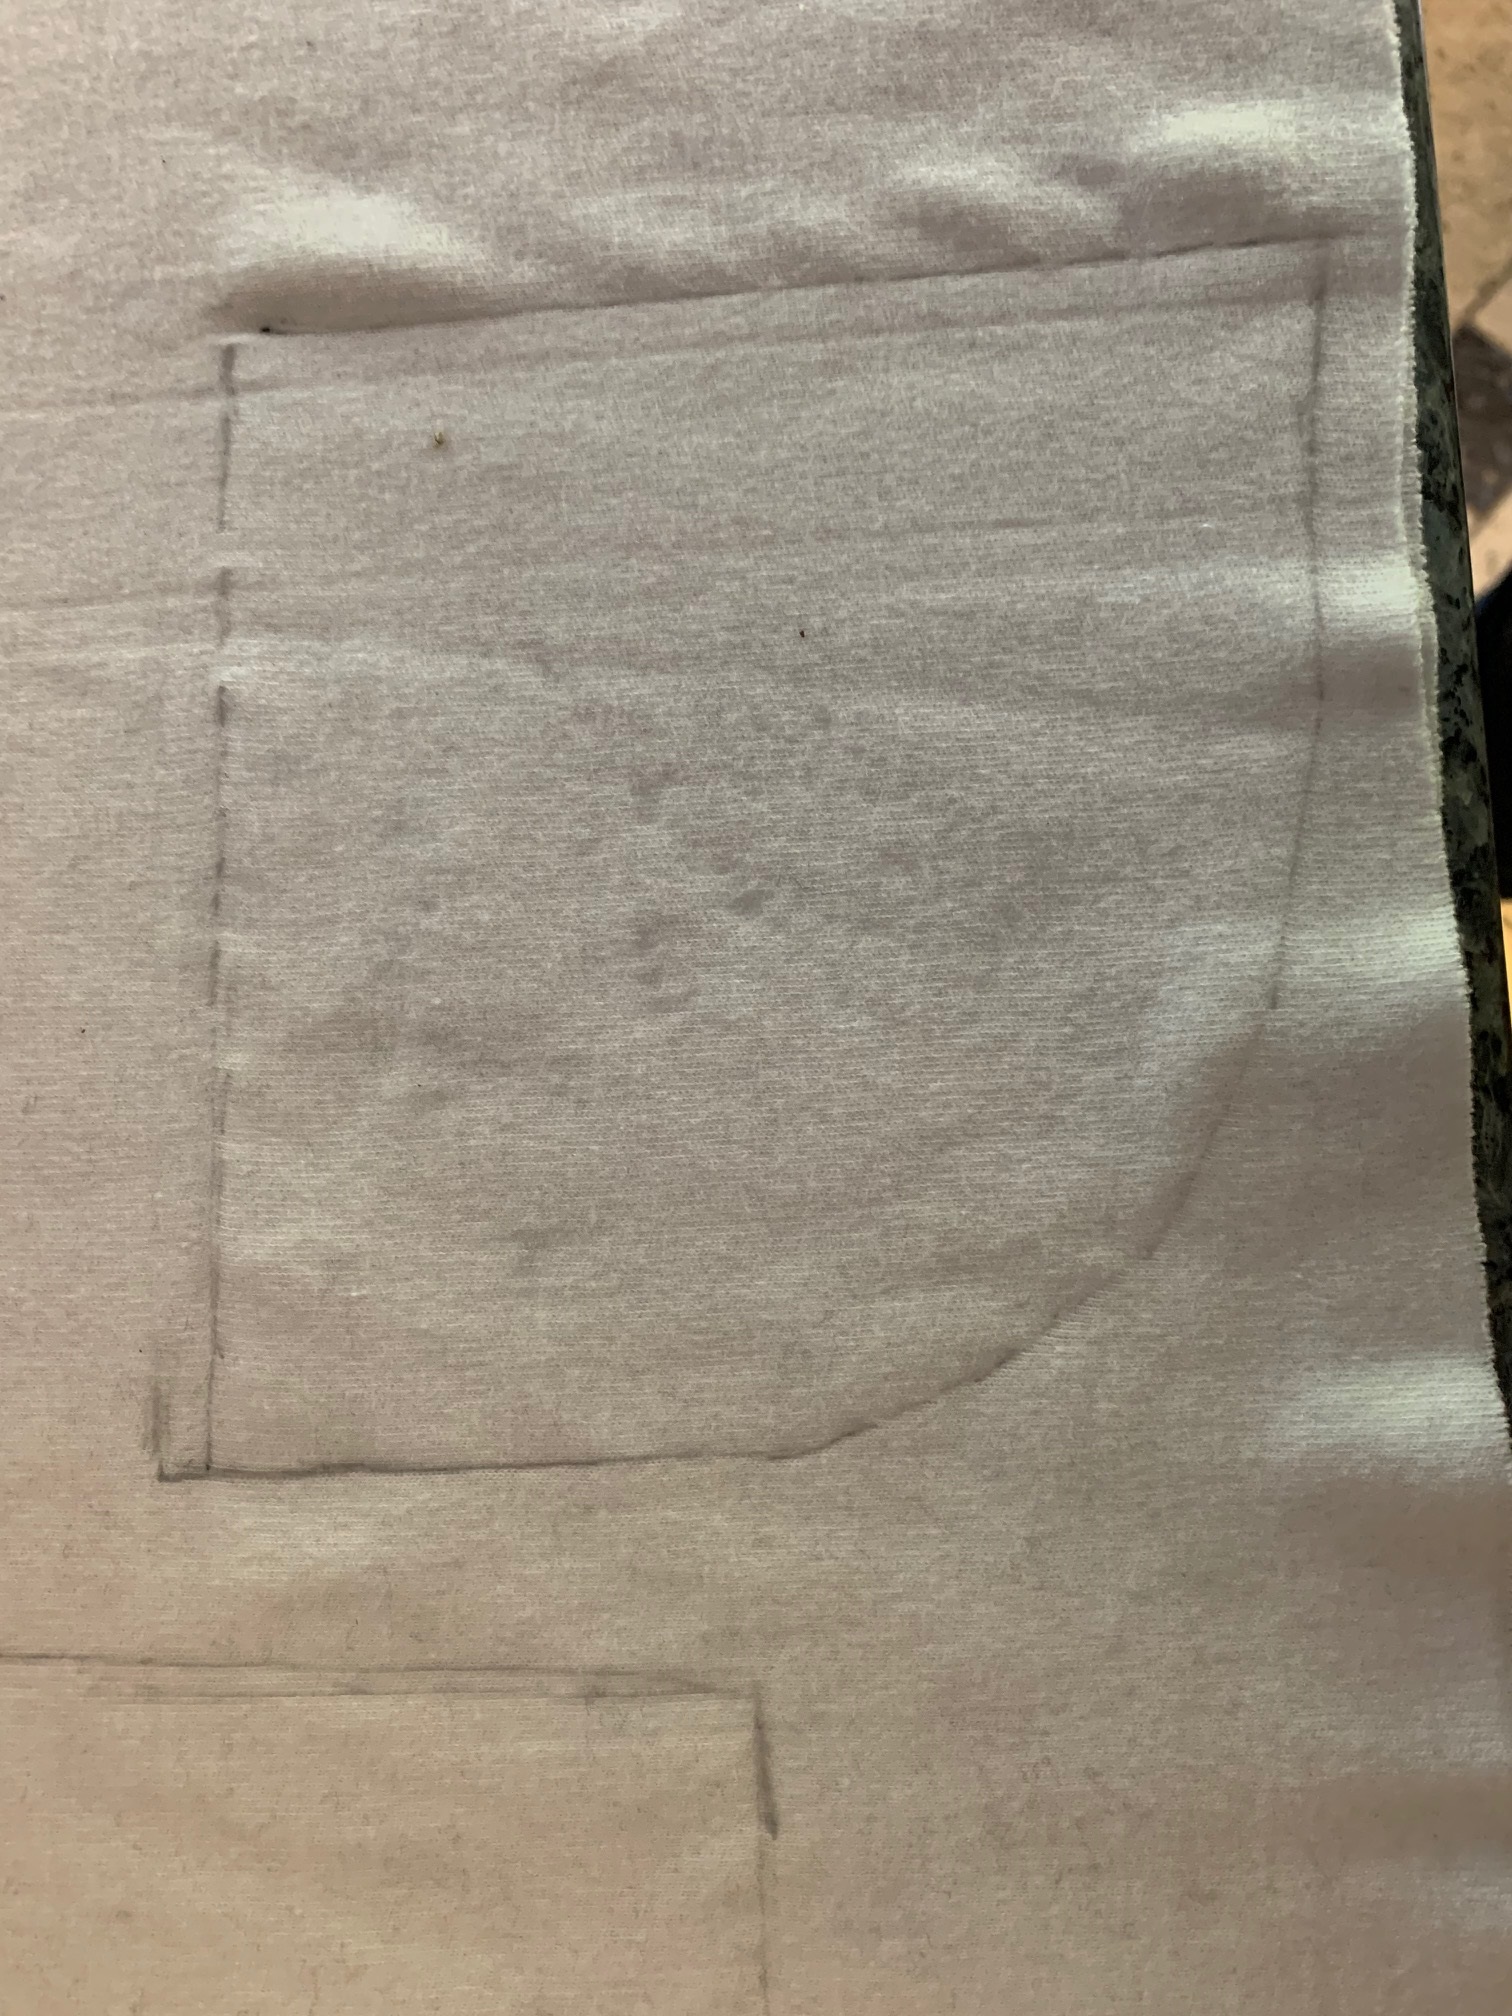
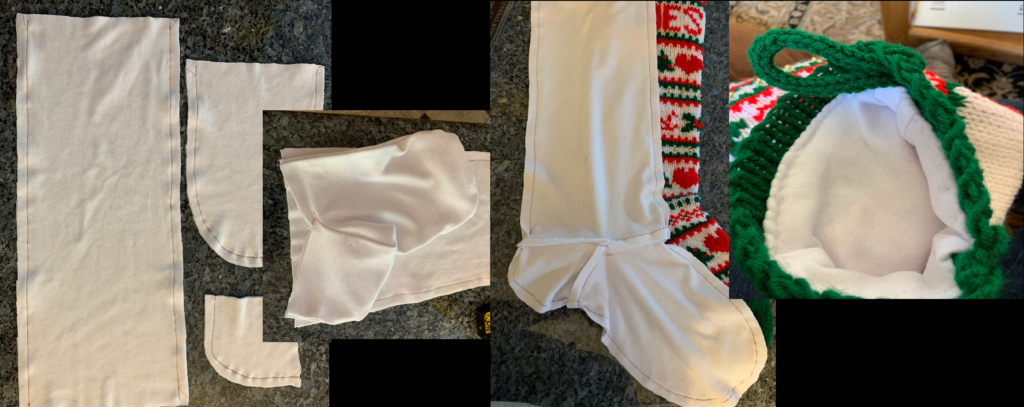
Cut Out and Sew Edges
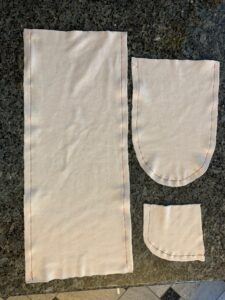
Now cut out the pattern pieces.
If your fabric is too slippery and the layers do not stick a bit together while you cut, you may need to pin the layers of fabric together before cutting, or do the tracing steps above onto paper first, then cut out the paper pattern and pin it to your fabric.
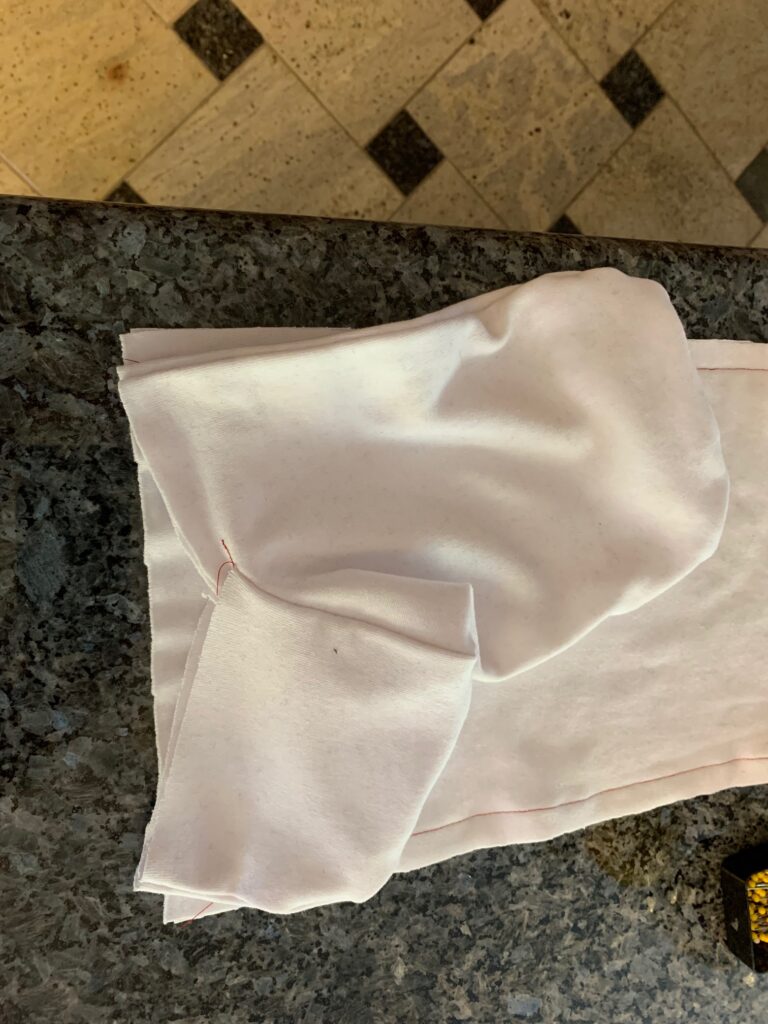
Sew the edges as shown in the picture “Sewn Edges”. I used contrasting color thread here so that the stitches would show easily in my pictures. You should use matching color thread.
Stitch together both long edges of the stocking top to make a tube. Stitch the curved edges of the stocking foot together leaving the top edge open. Stitch the curved edges of the heel together leaving the other two sides open.
Sew Heel to Foot
Turn the heel inside out and place it inside the foot, right sides together, matching up the heel seam to one of the seams on the foot.
Pin together, pinning the seams so they are open on both the heel and the foot.
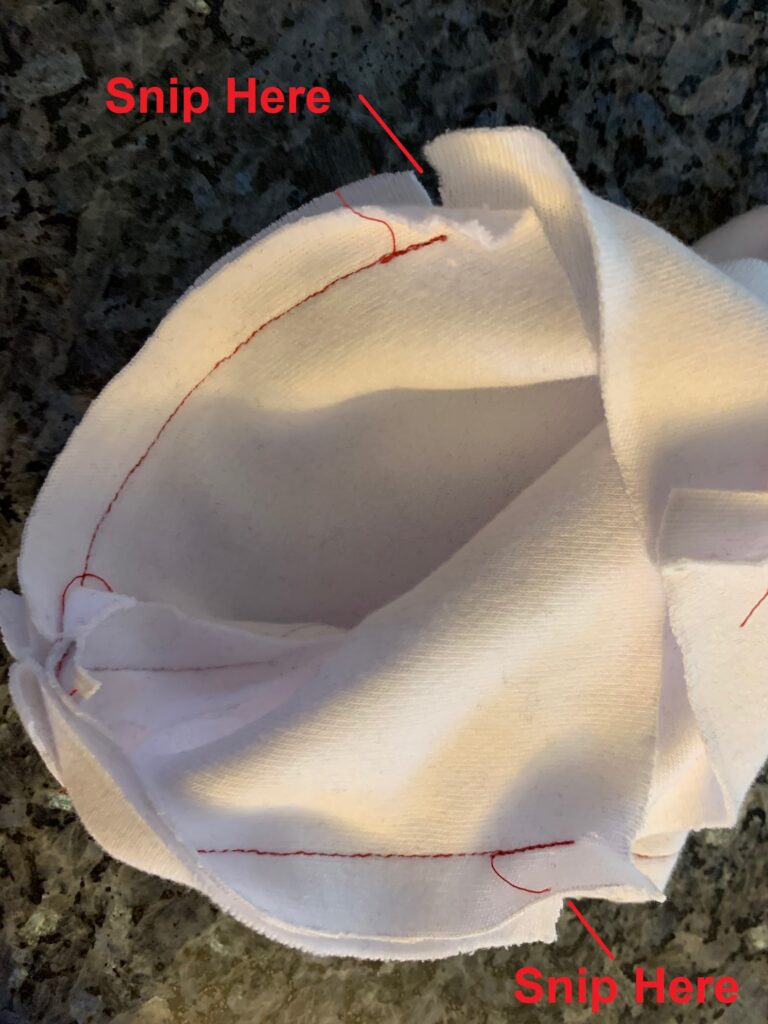
Stitch a 1/2 inch seam attaching the heel and the foot stopping 1/2 inch before the edge of the heel. This will be necessary to later sew the heel to the bottom of the stocking top.
Snip the fabric of the foot 1/2 inch, as shown in the picture “Sew heel to foot”, at the place where the stitching stopped.
Pull the heel out and you should have a piece with the heel stitched to the foot that looks like this: 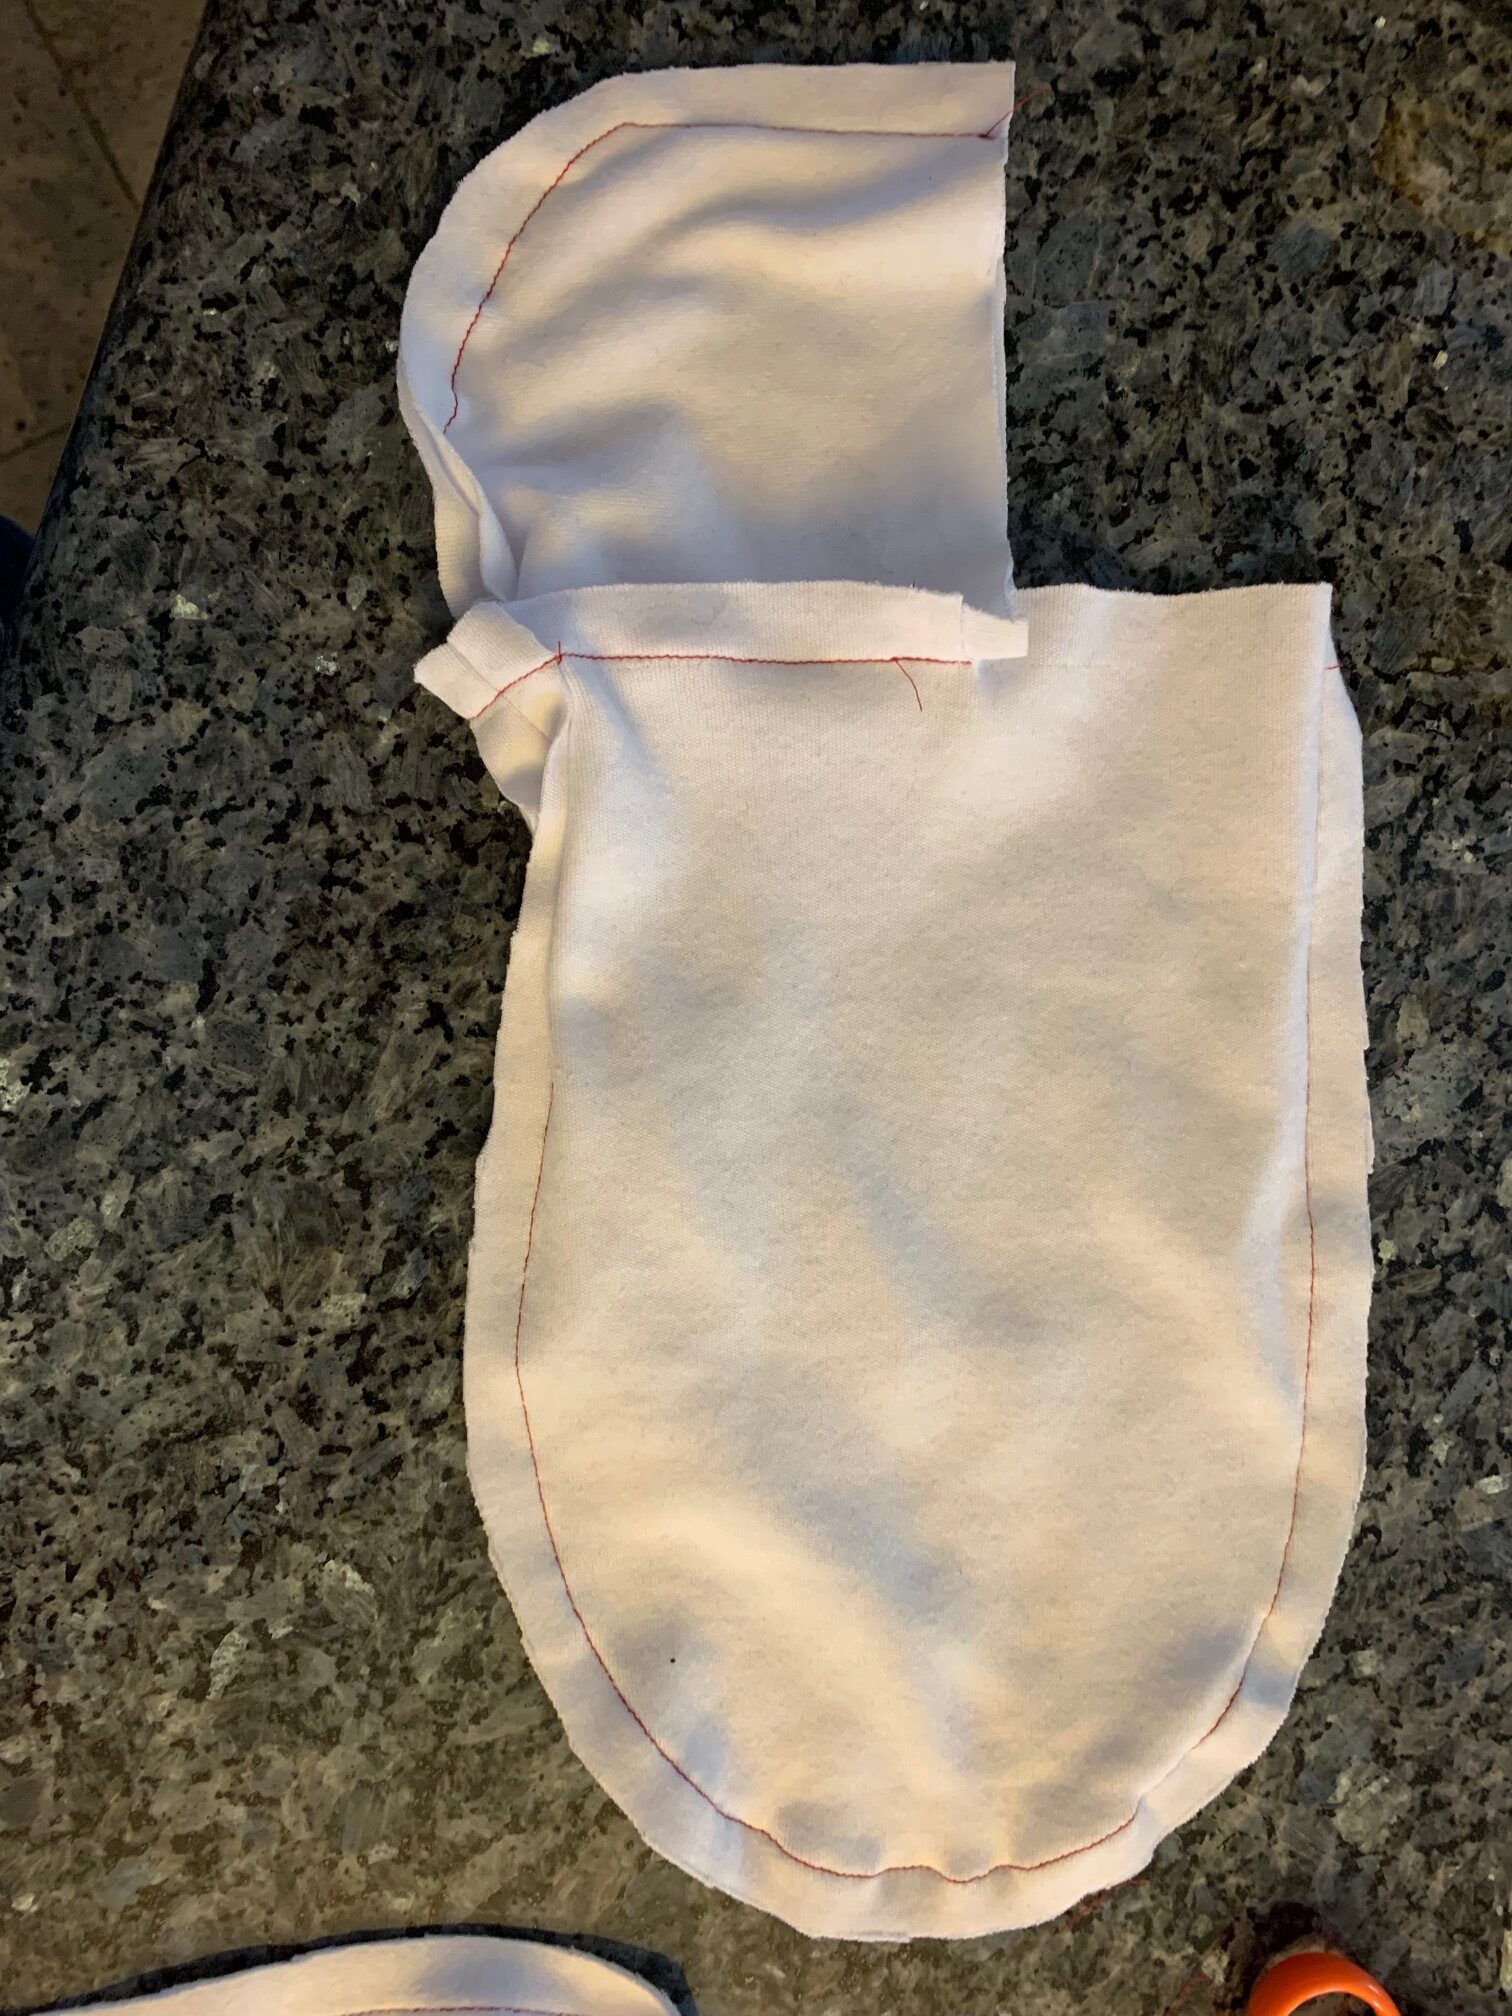
Sew Foot to Top
Now we will sew the foot with its heel to the top of the stocking.
First turn the foot inside out.
We will be placing the foot inside the stocking top, in the same orientation as shown in the picture “Foot ready to place inside stocking top”.
We will stretch out the edge of the foot with its heel, to match along the inside edge of the stocking top, first pinning and then sewing this edge.
Insert the foot and heel inside the stocking top tube matching up the seams that were not snipped on the foot with the seams of the stocking top.
Pin together with seams open.
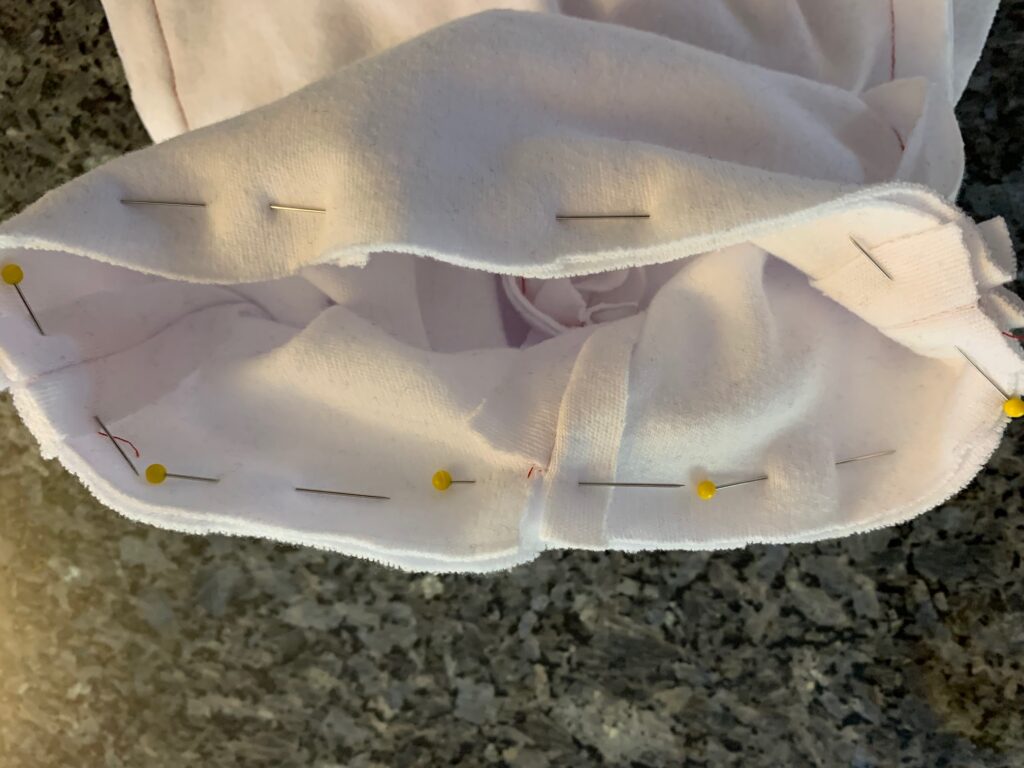
Pin all along the rest of the edge, stretching the foot/heel piece to fit inside the stocking top tube.
The snipped edge will open up and will be as shown in the picture “Foot and Heel pinned inside stocking top tube”.
One edge of the seam will come up to be stitched over. The other edge at the point where it was snipped will have a edge that comes up to stitch across and an edge that will lay at a right angle to it.
Here is a close-up of this (heel on the right and snipped foot on the left): 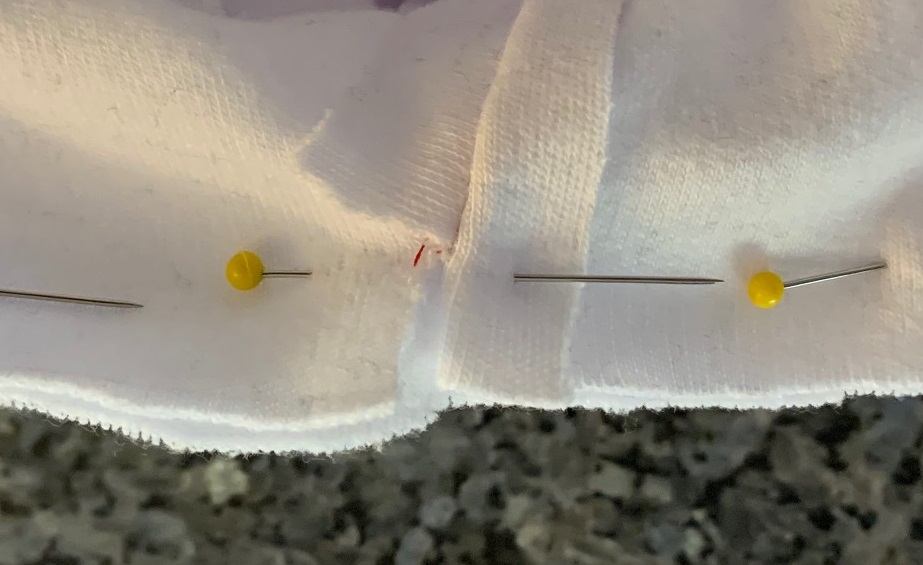
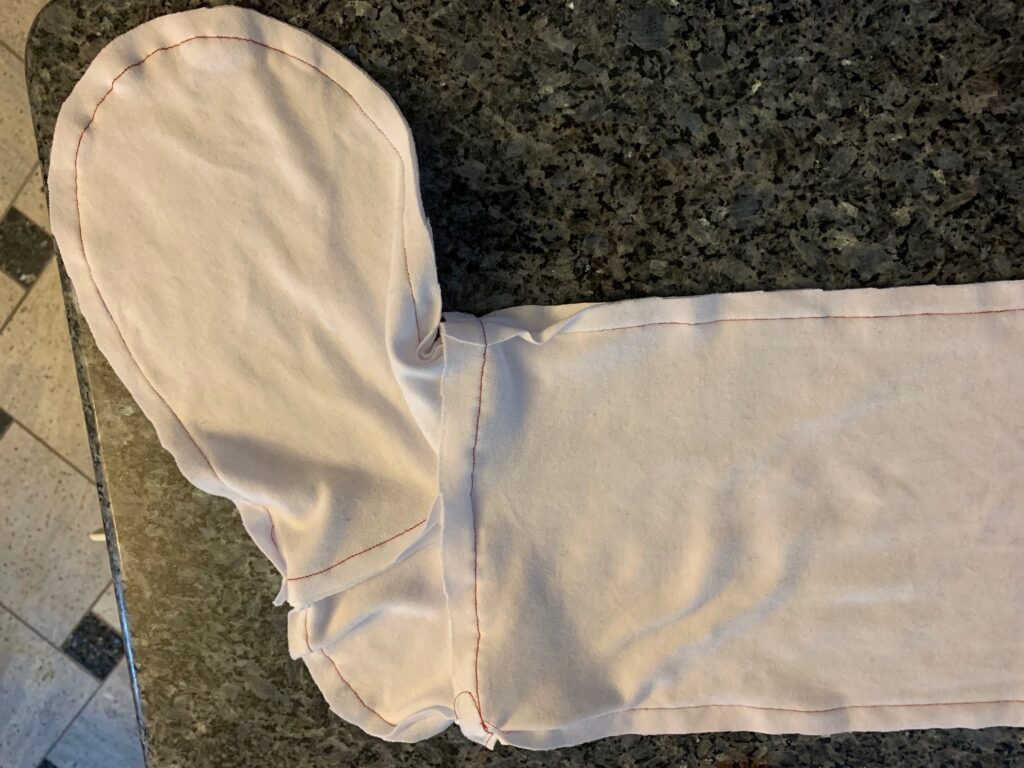
Stitch the seam all the way around. When you pull the foot and heel outside of the stocking top tube, it should look like the picture “Foot and Heel sewn to stocking top”.
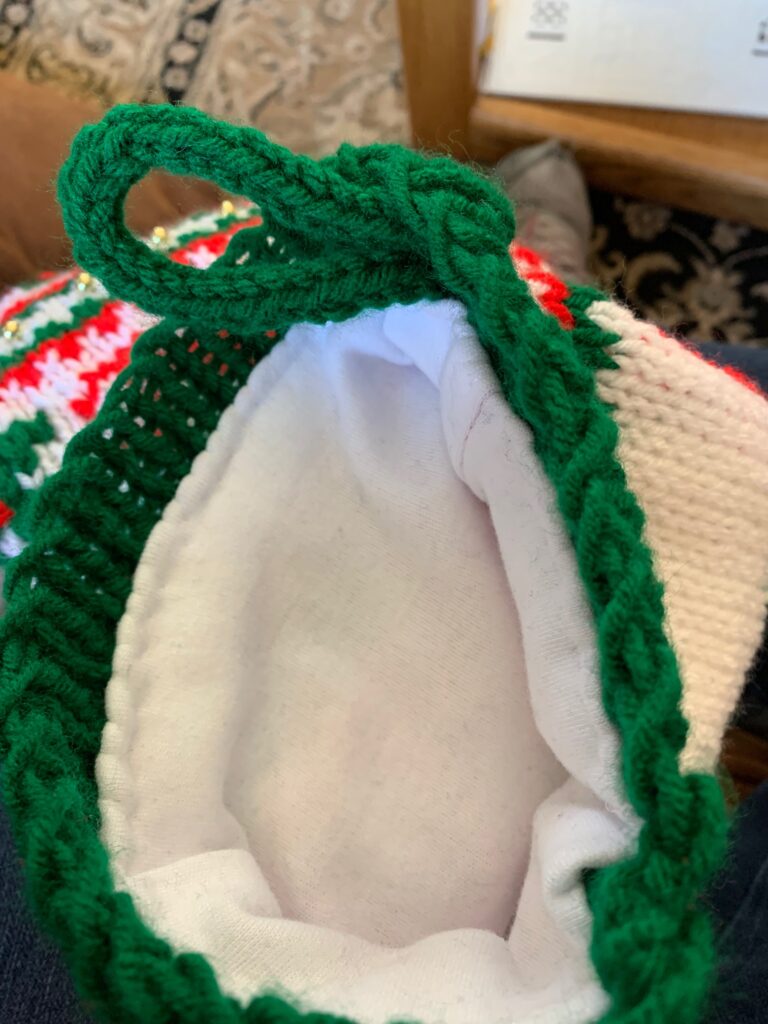
Now, it’s time to insert the lining into the stocking.
Insert Lining
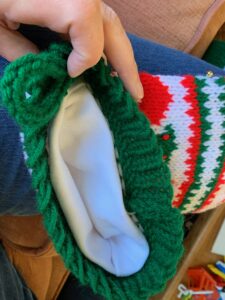
Insert the lining into the stocking by placing your hand inside the lining and pushing it all the way into the stocking. Push the toe and heel into place.
Fold over the top of the lining to make a nice edge at the top and stitch to the stocking just at the bottom of the ribbing.
Use an overcast stitch to attach the lining to the stocking, making deep stitches and putting the thread only through the inner part of the knitting. The thread should not show on the outside of the stocking.
Deep stitches will allow the lining to stretch with the stocking:
Tack the lining to the stocking at the heel and the toe. I tack it to the back seam of the stocking.
It can be a little tricky to do this. I thread a needle with thread doubled and knotted, then work my hand with the needle inside the lining until I am at the point where I want to tack the lining to the stocking. Then I push the needle through to the outside. I grab it with my other hand and push it back inside. I work with one hand inside and one hand outside, then finish off on the inside by turning the stocking inside out.
Your lining is now complete!
If you have any questions please leave me a comment, or email me using my contact page.